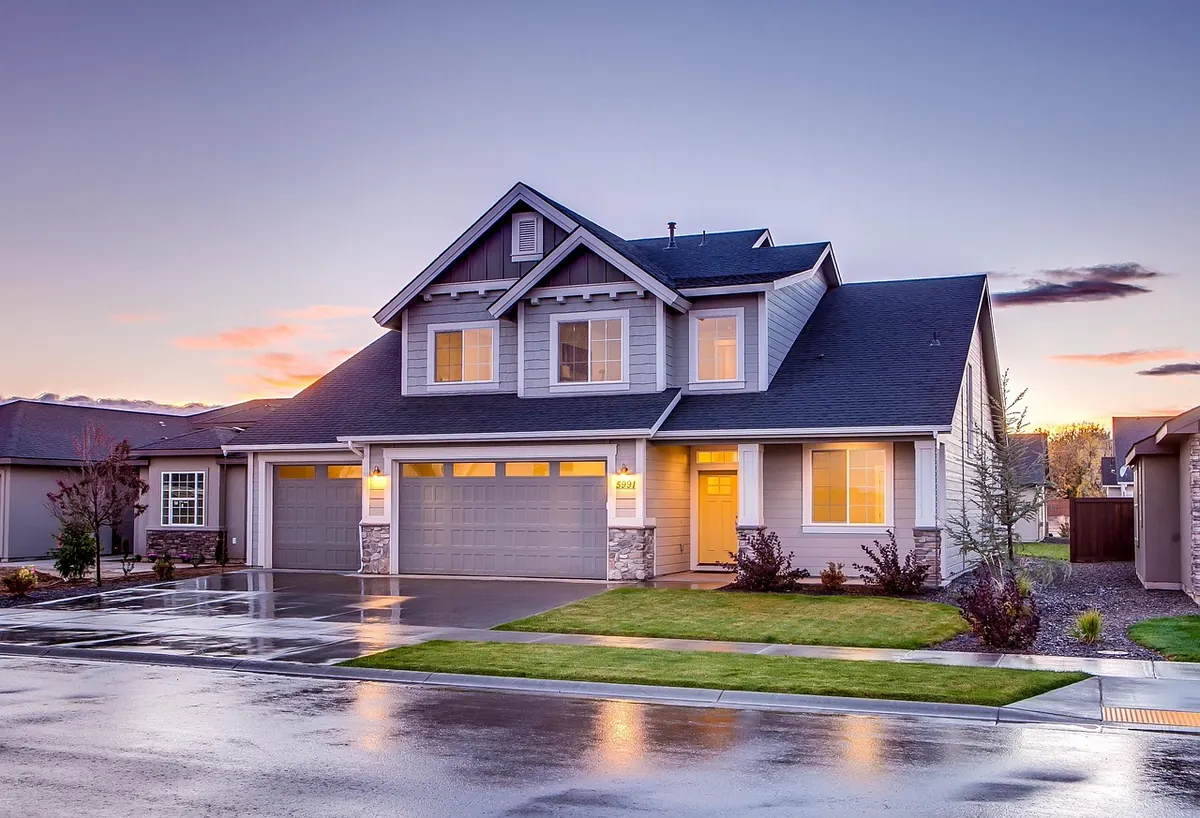
A window replacement can feel straightforward until the first surprise appears: a quote that leaves out disposal, a delivery date that drifts, a trim detail nobody discussed. The work itself is often less stressful than the decisions around it. Good planning does not remove every unknown, but it keeps the unknowns small, visible, and priced. Start with a clear scope, then build the budget, approvals, timeline, and contractor shortlist around it.
Survey Your Windows Before You Shop
Walk through every room and make a simple condition list. Note drafts, condensation between panes, sticky sashes, failed seals, cracked glass, water stains, soft wood, and paint failure. Test every window: open it, lock it, and look at the exterior sill and flashing if you can do so safely. Take photos with a tape measure in the frame so you can compare options later. This survey helps you separate windows that need glass-only attention from those that need a full unit.
Also decide what “replacement” means for each opening. A full-frame replacement removes the old frame and sash, allowing new insulation and flashing details; it is more invasive but can correct deeper problems. An insert or pocket replacement fits a new unit inside the existing frame. It is faster and less messy, but only when the old frame is sound and square. A contractor who offers one method for every window without checking the frame is skipping an important conversation.
Write Down Your Priorities
Do you want quieter rooms, easier cleaning, better summer heat control, or a specific exterior look? Priorities shape glazing, frame material, hardware, and even the number of operable windows. Put them in order before you request quotes. If two goals conflict—say, a narrow sightline and a very high insulation target—you want that trade-off explained while you are comparing bids, not after the order is placed.
Build a Budget in Layers
The window unit is only one layer. A complete budget includes the labor and materials that make the installation finished, weathertight, and ready to live with. Ask every bidder to price the same scope, then compare the line items. A low quote often looks low because something familiar has been left out.
- Window units, glazing, frames, and hardware
- Removal, haul-away, and disposal of old windows
- Trim, casing, sills, flashing, and exterior sealing
- Interior patching, drywall repair, and paint touch-ups
- Scaffolding, lift rental, or extra labor for upper floors
- Temporary weather protection and site protection
- A contingency for hidden rot, failed flashing, or surprise damage
Keep a written allowance for the unknown. Old homes often hide soft framing or failed flashing behind trim, and no honest contractor can promise otherwise before opening the wall. If you are borrowing for the project, speak with a qualified financial professional about the terms and your comfort level with the repayment; do not let a payment plan decide the scope for you.
Check Permits, HOA Rules, and Approvals Early
Permit requirements vary by location, and exterior changes may trigger design review. Call your local building department before you sign a contract, and ask whether your project needs a permit, inspection, or both. Ask the contractor who will pull the permit and who pays for it. “We do this all the time without a permit” is not a satisfactory answer until you have confirmed the rule yourself.
If you live in a condominium, co-op, or neighborhood with a homeowners association, request the written exterior requirements before ordering. Color, frame profile, divided lights, and even visible glass tint may be controlled. Historic districts may add another layer. For legal interpretation of covenants or historic rules, consult a qualified local professional; do not rely on a neighbor’s memory of what was approved years ago.
Set a Timeline With Realistic Margins
Window projects run on two clocks: manufacturing and installation. The order cannot be released until the final measurements are confirmed, and installation cannot start until the windows arrive and the site is ready. Build in time for approvals, delivery, weather, and the finishing work that follows. Do not schedule interior painting for the same day the last window goes in.
A Simple Sequence
- Complete the room-by-room survey and set priorities.
- Request itemized quotes and check references.
- Confirm permit and association approvals.
- Approve final measurements and place the order.
- Confirm delivery, installation dates, and site protection.
- Install room by room, sealing each opening before moving on.
- Finish trim, patch, paint, and complete a daylight and evening walk-through.
Plan which rooms can be without a window for a day or two. Bedrooms, kitchens, and home offices need the most thought. If the season is hot, cold, or rainy, ask how the crew will keep each opening sealed and protected. A good rule: no crew should remove more openings than it can close and weatherproof before the end of the day.
Ask for a written start date, a delivery window, and a completion estimate—then ask what could move each one.
Ask Contractors Questions That Reveal How They Work
Price matters, but process matters more. Use the same question list with every bidder, and listen for specific answers rather than general reassurance. A contractor who explains sequencing, protection, and hidden-condition procedures is easier to trust than one who promises a perfect job in a hurry.
- Will you measure, or are you relying on my numbers?
- Who pulls the permit, and who schedules inspections?
- What exactly is included in removal, disposal, trim, and paint?
- How will you protect floors, furniture, and landscaping?
- What happens if you find rot or failed flashing after removal?
- What are the labor and product warranties, and who honors them?
- Will the same crew install and finish the work?
- How do you handle weather delays and schedule changes?
- What is the payment schedule, and what triggers each payment?
Ask for a written contract and proof of insurance. If contract terms or insurance details are unclear, have a qualified professional review them before you sign. Keep changes in writing, including any swap in glass, hardware, or trim.
Keep a Project File and a Single Point of Contact
Before installation begins, gather the signed contract, itemized quote, permit, approval letters, product specifications, and warranty documents in one folder. Photograph each window before work starts and after it is finished. Keep delivery slips and note any damaged units immediately. Designate one person to communicate with the contractor so instructions do not split between family members.
On the final walk-through, open and close every window, test locks, look for gaps in sealing, check drainage, and inspect trim from both inside and outside. Visit again in the evening with a light; small gaps and uneven finishes show up differently after dark. Hold the final payment until the punch list is complete and you have the warranty paperwork in hand. That last step is not suspicion—it is
Photo: martynaszulist / Pixabay